Deploy Junos Pulse via Group Policy
Acquiring Junos Pulse installer and configuration
-Go ahead and acquire the latest version of Junos Pulse from here. As of writing this the latest version is 5.0r6. Best to grab the x64 msi as this is for Windows. If you do not have an account go ahead and make one with your email address and use the serial # of one of your Juniper devices.
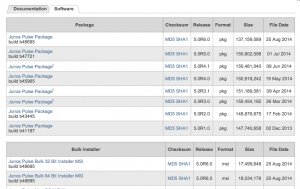
-Create a .jnprpreconfig file with instructions from Juniper’s site here.
Configuring Junos Pulse with SuperOrca to add locations
-First on your Windows VM or machine go to this link and download the SuperOrca setup file.
-Once installed launch the file and open your Junos Pulse msi file.
-Navigate in the left column to Properties and the right column to CONFIGFILE.
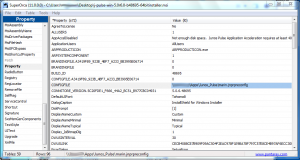
-Insert the network path to the marin.jnprpreconfig file.
-Close SuperOrca, no need to save.
-Upload the finished msi to your Group Policy repository and set the installer msi as well as the marin.jnprpreconfig file to readable by Domain Users and Domain Computers.
Configuring Group Policy to deploy Junos Pulse
-Create a new Group Policy for your location
-Link it to your site
-Edit the new Group Policy

-Go to Computer Configuration > Policies > Software Settings > Software installation
-Right click and select New > Package…
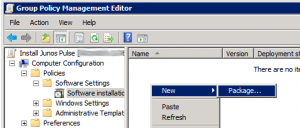
-Select Advanced then OK
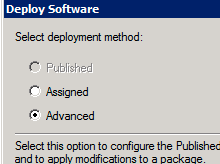
-Go to the Deployment tab and select Advanced.
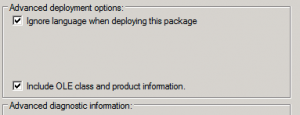
-Make sure to check both Ignore language when deploying this package and Include OLE class and product information.
-Select OK then OK. At this point it will probably sit there forever.
-After it is done go to Computer Configuration > Policies > Administrative Templates > System > Logon
-Set Always wait for the network at computer startup and logon to True.
-Go to Computer Configuration > Policies > Administrative Templates > System > Group Policy and set Startup policy processing wait time to Enabled.
Thats it! You’re good to go.